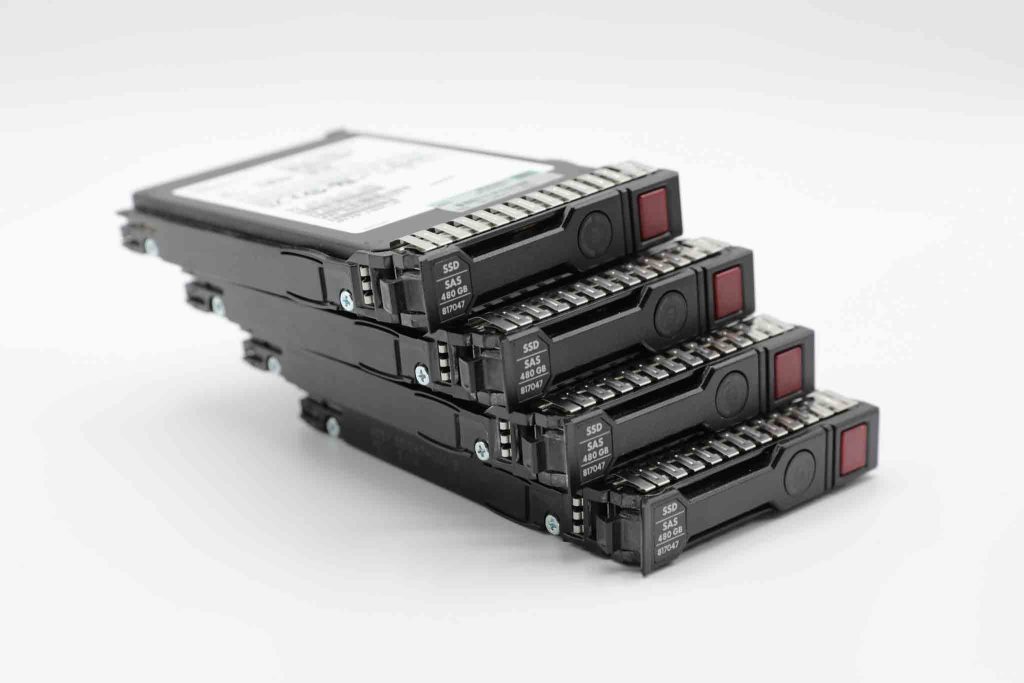
RAID, which stands for Redundant Array of Independent Disks, is a method of combining multiple disks into a single logical unit to enhance data storage, read and write performance, and fault tolerance. RAID configurations have grown in popularity in recent years as they offer an effective solution for businesses and individuals who require high-speed, dependable data storage.
Setting up RAID in Windows 10 can be a tad intricate, but with the proper guidance, you can readily establish it. In this article, we’ll take you through the steps needed to configure RAID in Windows 10.
Types of RAID
Several RAID levels are available for implementation, each providing its own set of advantages and disadvantages. The most common RAID levels comprise RAID 0, RAID 1, RAID 5, and RAID 10.
RAID 0 is a setup that distributes data across multiple disks, thereby enhancing read and write performance. However, it doesn’t offer any fault tolerance, which means that if one drive fails, all data stored on that RAID configuration will be lost. This configuration is most suitable for applications requiring high read and write performance but not necessarily data redundancy or fault tolerance.
RAID 1 provides fault tolerance by duplicating data across multiple disks, ensuring a backup is always available if one drive fails. RAID 1 requires at least two disks and offers excellent data protection. However, it does result in reduced storage capacity and read performance.
RAID 5, in contrast, involves combining three or more disks with one disk reserved for parity data. This setup offers fault tolerance and superior read and write performance compared to RAID 1. Nonetheless, it requires a minimum of three disks and can be complex to implement.
RAID 10 is a fusion of RAID 0 and RAID 1, offering both enhanced read and write performance and data redundancy. This configuration necessitates a minimum of four drives and can be a costly undertaking.
How to Configure RAID in Windows 10
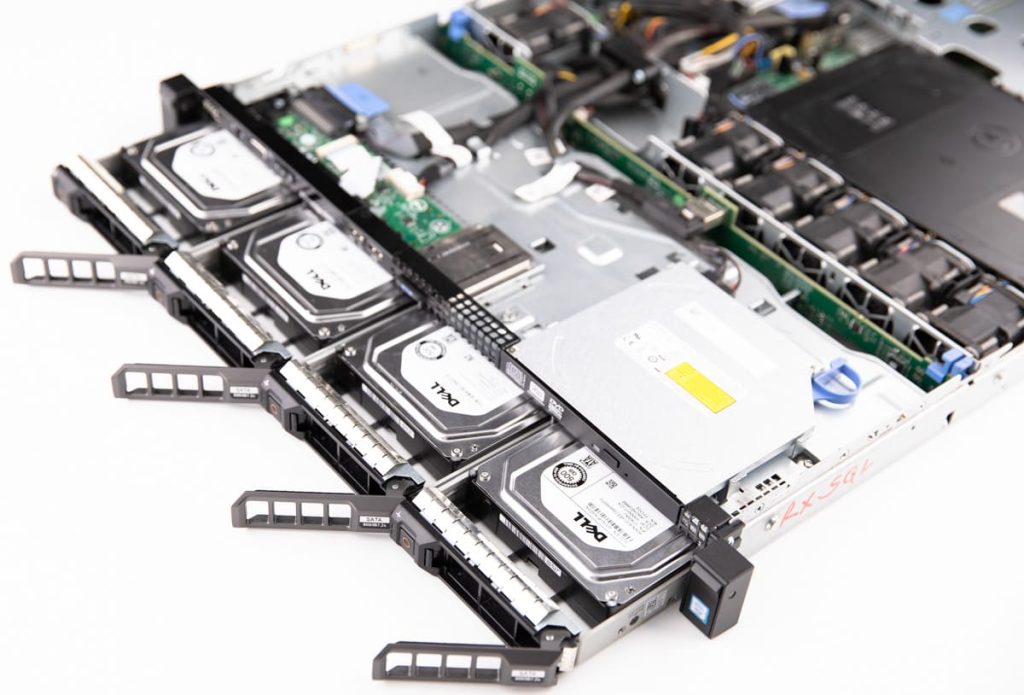
To implement RAID configurations in Windows 10, a RAID controller is essential. This can either be a hardware RAID controller, a physical device connecting to the motherboard, or a software RAID controller integrated into the operating system. A hardware RAID controller delivers optimal performance and fault tolerance but requires at least four drives. The RAID controller manages all read and write operations, with the operating system recognising only a single drive.
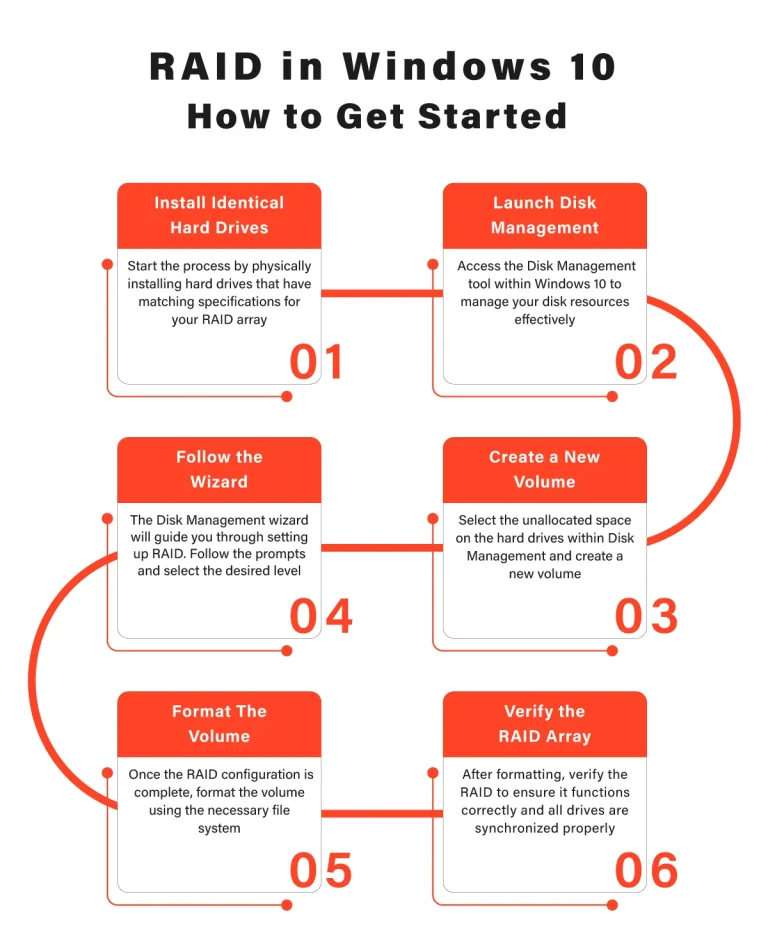
Step 1: Install Identical Hard Drives
To set up a RAID array in Windows 10, you’ll need the requisite number of identical hard drives. These hard drives should possess the same capacity, speed, and interface.
Step 2: Open Disk Management
After installing the hard drives, access Disk Management in Windows 10 by right-clicking the Windows icon and selecting Disk Management from the menu.
Step 3: Create a New Volume
Within Disk Management, right-click on the unallocated space of the hard drive you intend to utilise for your RAID array. Choose “New Mirrored Volume.” This action will initiate the New Mirrored Volume wizard.
Step 4: Follow the Wizard
Proceed through the steps outlined in the New Mirrored Volume wizard to generate a new volume.
You will be prompted to select the disks for the RAID array, assign a drive letter, and format the volume.
Ensure you choose the required hard drives for your RAID array.
Step 5: Format the Volume
After selecting the disks, you’ll be prompted to format the volume. You can select the preferred file system and allocation unit size. Once formatting is complete, click “Finish” to create the RAID array.
Step 6: Verify the RAID Array
After creating the RAID array, confirm its correct functioning by checking the Disk Management utility. This utility will display the RAID as a single drive.
RAID Data Recovery with PITS
In the event of data loss from a RAID system, our team of experts possesses advanced knowledge and state-of-the-art techniques to recover lost data with unparalleled precision. Additionally, we operate in modern facilities and utilise the latest tools to ensure successful data recovery. Upon receiving the device at our facility, we initiate an evaluation process.
Our engineers conduct a comprehensive assessment of the media to identify the cause of data loss, gauge the extent of damage, and assess the likelihood of successful recovery. Based on this information, we choose the optimal recovery approach.
Benefits of Our Services:
24/7 Emergency Service Availability
So if you're facing a data loss situation, don't hesitate to contact us. Our 24/7 data recovery services are available 365 days a year. Let us help you recover your precious data today.
Certified Data Recovery Laboratories
So if you're facing a data loss situation, look no further. With our certified data recovery labs and 99% success rate, we are confident that we can recover your precious data and get you back on track.
Data Recovery Services Worldwide
PITS is a leading global recovery service provider specializing in retrieving data from various storage devices. With a widespread network of locations, we offer reliable solutions to clients worldwide.
ISO Certified Class 10 Cleanroom
Our engineers work in a controlled environment to ensure the safety of your device. We recover data in ISO Certified Class 10 Cleanroom and achieve high results.
Risk-free Evaluation and Assessment
We start the process with a risk-free evaluation. Our technicians estimate the reasons for data loss and the level of damage. We select the most suitable strategy.
100% Customer Satisfaction Rate
With years in the data recovery industry, our company supports the highest customer satisfaction rate. We do everything to provide a positive experience for our clients.
Furthermore, we provide our clients with a comprehensive service quote containing pricing details and turnaround time. We specialise in restoring data from various storage devices such as hard disk drives, solid-state drives, servers, and tapes. Our expertise extends to all operating systems, file types, and file systems.
Should you encounter data loss issues on any RAID level, we are readily available to assist you. Our team will be delighted to address your concerns and offer the necessary support.
Frequently Asked Questions
What is RAID, and why should I configure it in Windows 10?
RAID (Redundant Array of Independent Disks) is a method of combining multiple disks into a single unit for improved data storage and performance. Configuring RAID in Windows 10 can help businesses and individuals achieve high-speed, reliable data storage, making it an ideal solution for various storage needs.
What are the different types of RAID configurations available?
There are several RAID levels, including RAID 0, RAID 1, RAID 5, and RAID 10. Each level offers unique benefits – RAID 0 enhances performance, RAID 1 provides fault tolerance, RAID 5 delivers a balance of performance and redundancy, and RAID 10 combines the strengths of RAID 0 and RAID 1.
What is the difference between hardware and software RAID controllers?
Hardware RAID controllers are physical devices that connect to the motherboard, offering superior performance and fault tolerance. Software RAID controllers are built into the operating system, providing a more cost-effective solution but slightly lower performance.
How do I set up a RAID array in Windows 10?
To configure RAID in Windows 10, install identical hard drives with matching capacity, speed, and interface. Launch Disk Management, create a new volume, and follow the New Mirrored Volume wizard’s steps to select disks, assign a drive letter, and format the volume.
What are the benefits of RAID data recovery with PITS?
In the event of data loss from a RAID system, our experts at PITS have the advanced knowledge and tools for precise data recovery. We evaluate the cause of data loss, assess the damage, and determine the optimal recovery approach. Our services cover various storage devices, operating systems, and file types.
We’re Here to Help
Our experienced team is committed to helping you recover your critical data. No matter the situation, we work diligently to ensure the best possible outcome. Take action now and let us restore what’s important to you.
Start Recovery Process
"*" indicates required fields